

Prerequisites
- Data export enabled for your organization
- An AWS account where you can create IAM roles
- An S3 bucket in your AWS account to receive exports
Setting up a destination
Navigate to Settings > Destinations > Add Destination to start the setup wizard.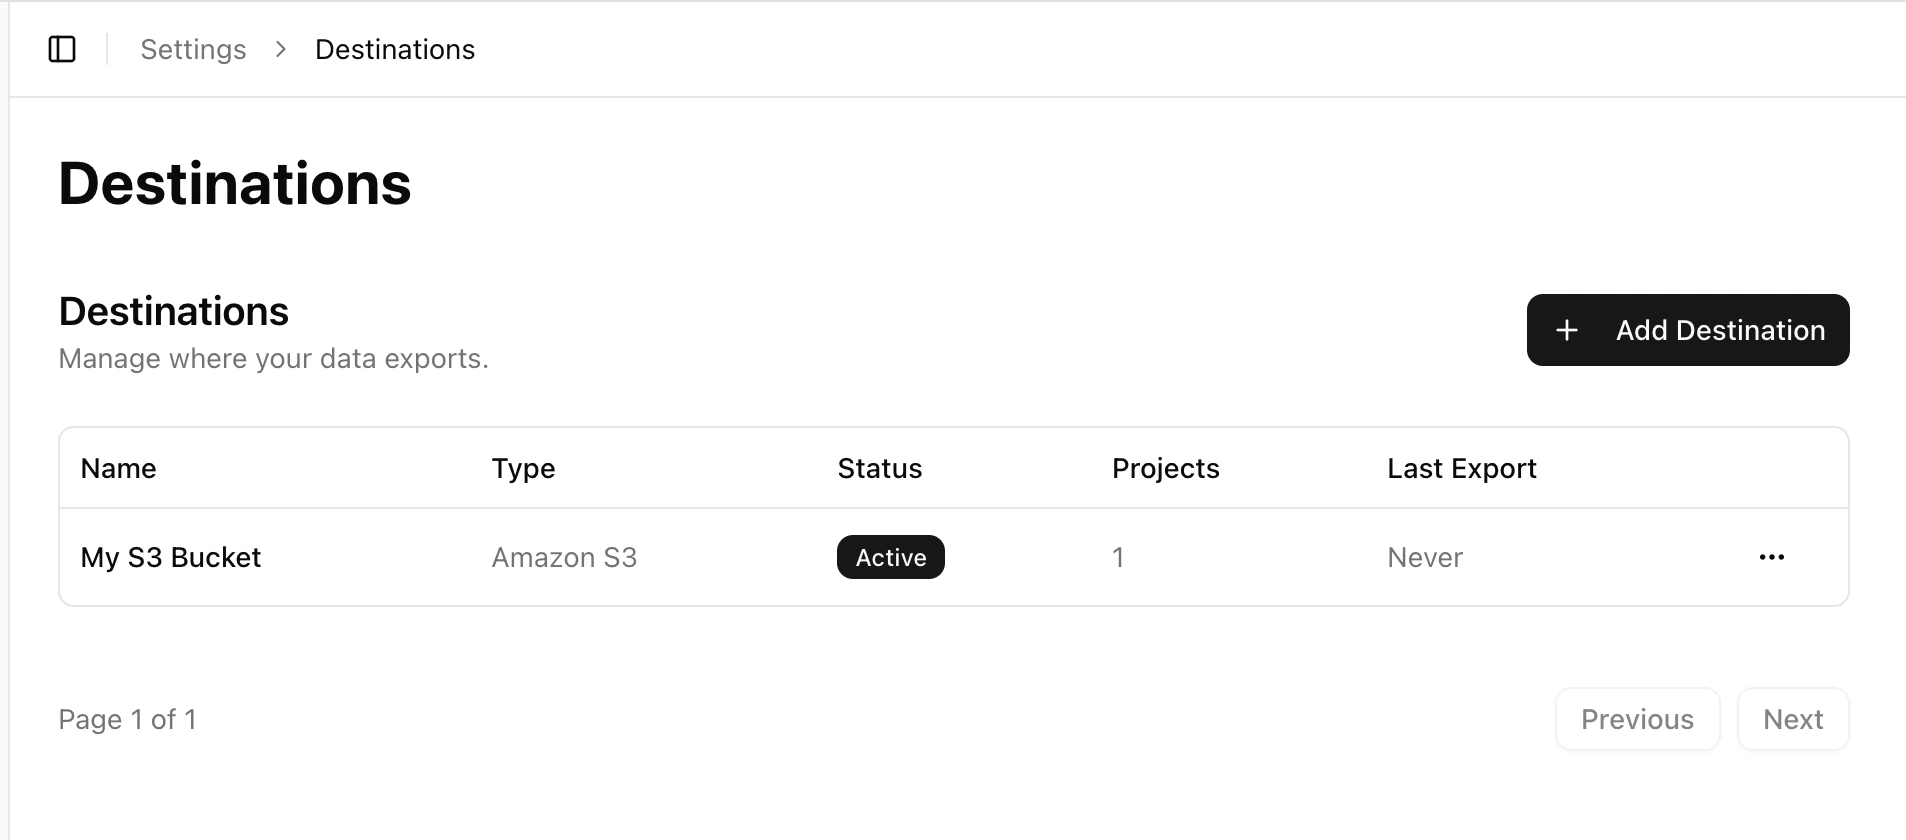
Step 1: Choose destination type
Currently S3 is the only supported destination type. Select it and continue.Step 2: Configure your S3 bucket
Step 3: Set up the IAM role in your AWS account
AgentCat uses cross-account IAM role assumption — your data stays in your AWS account and AgentCat never sees your AWS credentials. AgentCat generates the exact IAM policies you need. The wizard provides setup instructions in five formats:- AWS Console — step-by-step manual instructions
- AWS CLI — copyable shell commands
- Terraform — HCL code you can add to your infrastructure
- Pulumi — TypeScript code for Pulumi users
- CloudFormation — one-click “Launch Stack” button that creates everything automatically
- A trust policy that allows AgentCat’s service role to assume it, with your organization ID as an external ID for security
- A permissions policy granting
s3:PutObject,s3:PutObjectAcl, ands3:DeleteObjecton your bucket path (andkms:GenerateDataKey/kms:Decryptif KMS is configured)
Step 4: Verify the connection
After creating the IAM role in your AWS account, return to AgentCat and click Verify Connection. AgentCat will:- Assume your IAM role via STS
- Write a test object to your bucket
- Delete the test object
Assigning projects to a destination
After your destination is verified and active:- Navigate to Settings > Projects and select a project
- In the Exports section, click Add Destination
- Select from your verified destinations
- Toggle the export on or off per project
What gets exported
AgentCat exports your data as two Parquet tables:Sessions are exported once they finalize (a session finalizes after it has been inactive long enough to be considered complete). Each hourly export picks up newly finalized sessions and their events, and a cursor ensures every session is exported exactly once.
parameters, response, and error columns are excluded from exports — those columns are omitted from the Parquet files entirely. This is controlled by a per-destination column denylist, which you can edit to exclude additional columns or to include these three. All other columns are exported as stored, including IP addresses and user identification data, so the server-side and client-side redaction applied when events are ingested determines what sensitive values an export can contain.
Export path structure
Exports are written as Hive-partitioned datasets:mcpcat/v1/_manifests/ recording the files and row counts it produced, and each table root carries a _common_metadata file so the datasets load directly in Spark, DuckDB, and other Parquet readers.
Managing destinations
- Enable/disable: Toggle a destination on or off without deleting it
- Edit: Update the name or S3 configuration (changing config resets verification — you’ll need to re-verify)
- Delete: Permanently remove a destination (also removes all project assignments)
- Re-verify: Test the connection again anytime from the destination detail page